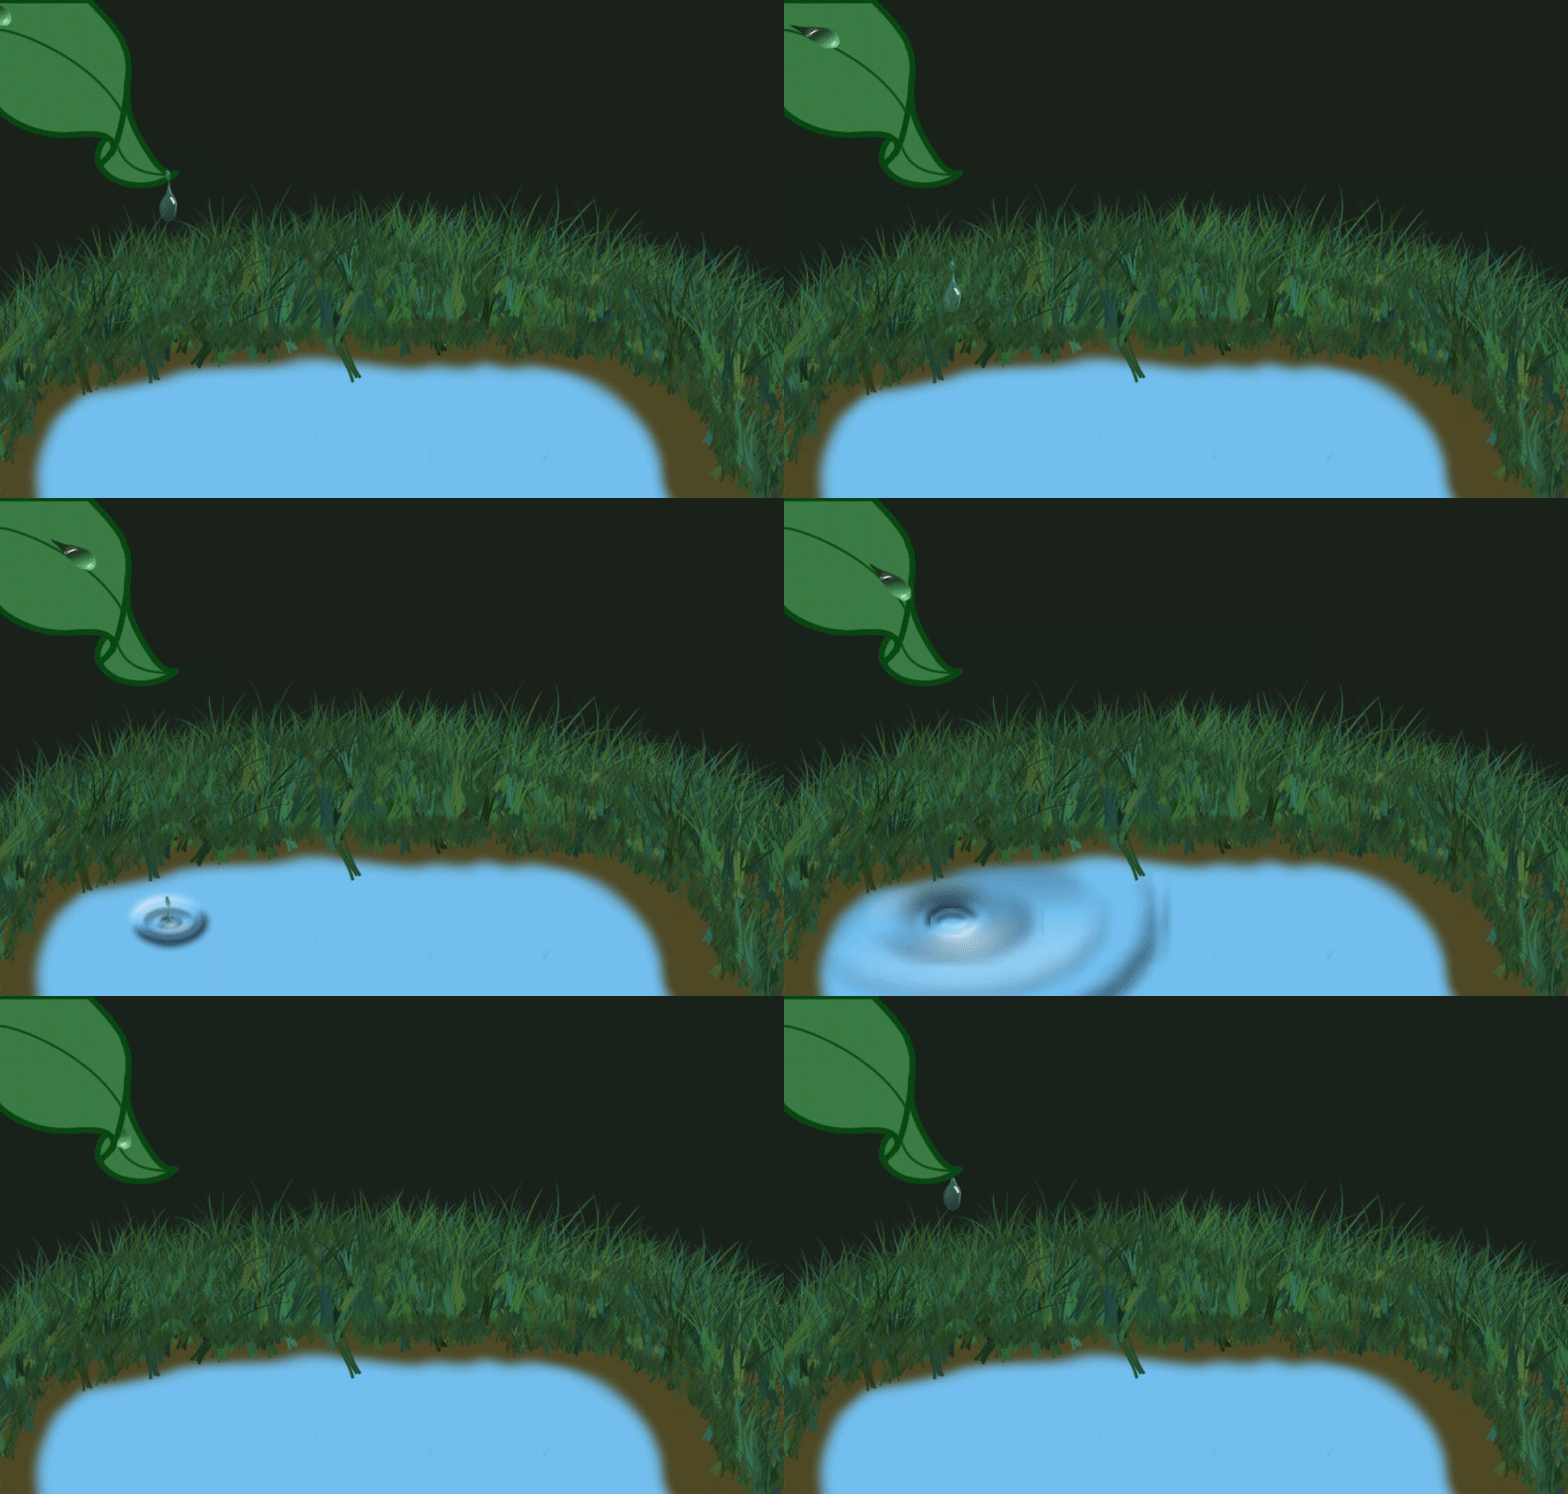
The first will be a short looping animation;
the next will be a 10-20 second animated story with sound.
PROJECT 1: LOOPING SHORT ANIMATION
Create a short (5+ seconds) looping animation that uses at least five layers and approximately 30 frames. To loop, or repeat endlessly, the first and last frames have to be the same or similar. An example would be someone walking, so that one leg moves, then the other, then back to the beginning of the animation for the first leg to move again.
Here are some examples of short animations by BHS students.
(Not all of these are looping animations.)
STEPS:
1. Create a New Animation Document
- File – New
- At the top bar of the New Document window, click “Film and Video”
- Name: animation loop yourlastname
- Click the Blank Document Preset of: HDTV 1080p (although you may need a lower resolution if working on an iPad); this defaults to:
- Width: 1920 pixels
- Height: 1080 pixels
- Resolution: 72 pixels/inch
- Color Mode: RGB
- 8 bit
- Background Contents: White
- CREATE
- Save this file immediately as a .psd (Photoshop file) on your computer: animation loop yourlastname.psd
2. Set Up the Background and Other Layers
Your background, and anything that will be moving, should be on separate layers. You should create at least five layers. Some of those layers should be in groups (for instance, a background group that includes layers of sky, ground, buildings, trees, etc.
In Layers Palette:
- New Group
- New Layer(s) (within each group)
3. Arrange the parts for the first image (frame) of your animation
4. Export the First Frame
- File – Export – Export As...
- At the top right corner (Under "File Settings - Format", select JPG
- Click "Export"
- When the Save As dialogue box comes up:
- (For first frame) Click "New Folder" (on bottom left): Name the new folder "frames yourlastname" -- Click "Create"
- Save on Your Computer
- Format: JPEG
- (For first frame) Click "New Folder" (on bottom left): Name the new folder "frames yourlastname" -- Click "Create"
- Save into the "frames yourlastname" folder as "001.jpg" (then 002.jpg for the next one, then 003.jpg., etc.)
5. Save Each Individual Frame
After saving each frame, go back to the PSD document and move the different “items” (layers, drawings, etc.), then Export the next frame.
6. String these frames (jpgs) together into an animation by reimporting them into Photoshop:
- Go to: File -- Scripts -- Load Files into Stack
- Use: Folder (Change from "Files)
- Browse:
- Select your animation folder
- Open
- OK
- Go to: Window -- Timeline (a horizontal palette for your animation sequence will open at the bottom of your screen)
- In the Timeline palette, where it says "Create Video Timeline, click the arrow to say "Create Frame Animation", then click on the "Create Frame Animation" button.
- Click on the top right of your Timeline palette,
- then select "Make Frames from Layers"
- Select all the frames,
- then click again on the top right of your animation palette,
- and select Reverse.
- Play the animation
7. Render Video
- File - Export - Render Video
- Name: animation yourlastname.mp4
- Select Folder... (Choose Desktop)
- Format: H.264
- Range: All Frames
- Click "Render"

 RSS Feed
